
Your oven has been through a lot with you—birthdays, dinner parties, and midnight snack experiments gone wrong. That warm, comforting aroma? It’s now a mix of last night’s roast and a pizza from sometime in 2022.
You know it’s time to do something, but the thought alone makes you want to order takeaway. Still, there’s a weird satisfaction in seeing your oven go from tragic to sparkling. You just need the right game plan and maybe a little motivation to roll up your sleeves.
Ready to make it happen? Stick around because we’ll show you how.
Gather Your Supplies
Before starting, you should grab all your cleaning must-haves. Luckily, you don’t need to splash out on expensive products, since your pantry likely holds some cleaning powerhouses.
Bicarb, for instance, effectively removes stubborn stains with its coarse texture, while white distilled vinegar dissolves oily residue and naturally disinfects surfaces.
If you want to go green, consider plant-derived cleaners that deliver impressive results. For those challenging spots, you’ll need a strong scrubbing tool as well.
And while you’re at it, swap disposable wipes for microfibre towels—they’re kinder to your surfaces, your budget, and nature.
Finish your kit with a decent pair of gloves so you can scrub for as long as it takes without getting a skin rash. With everything at hand, deep cleaning will feel less like a chore and more like a quick refresh.
Prepare the Oven and Make a Cleaning Paste
Ever started cleaning only to realise you’ve made a bigger mess? That’s what happens if you skip this step.
To avoid this, remove all racks and trays first and pop an old towel underneath to catch stray crumbs or drips. And if you’ve recently used your oven, let it cool completely, because nothing kills motivation faster than a burnt hand.
Now for the fun part: whipping up your own cleaner at home. To break down stubborn grease, mix bicarb with water until it forms a thick paste.
Need extra cleaning muscle? Blend a tiny bit of dish soap into the bicarb-and-water paste and tweak the consistency as needed. You can also add a few drops of essential oils, like tea tree or lemon, to leave behind a fresh scent.
Apply your paste generously on all surfaces, focusing on those extra dirty areas and letting it sit for at least 30 minutes. If there are some awkward corners, you can use a spatula to coat them.
Clean the Racks
While the paste works its magic, let’s give the racks their own spa treatment. To do this, fill up your kitchen sink with hot water, add a squirt of dishwashing soap, and then soak the shelves. Afterwards, grab a brush to scrub away any stubborn baked-on bits.
When they’re spotless, rinse them well so there’s no soap left to sizzle and smoke the next time you cook.
You can then towel them off or prop them in a warm spot for a bit, but whatever you do, don’t leave them damp. Water spots and rust have no place in your freshly cleaned unit.
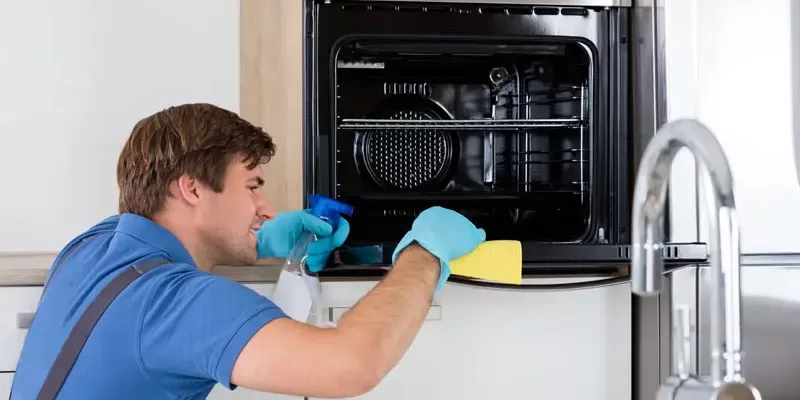
Wipe Down the Oven
Now that your paste has done its job, it’s time to remove it. Grab a damp cloth and start wiping from the top down so you don’t end up dragging grime over the areas you’ve already cleaned.
If you skip spots, that leftover baking soda can cause smells or even smoke the next time you switch your oven on.
Stuck with stubborn spots? You’ll need to put in a bit more elbow grease with a sponge. You can also add a light spritz of your favourite natural cleaner to loosen those patches.
While you’re at it, check the corners, door hinges, and seals—these spots love to hide a layer of grease that ruins your hard work.
When everything is clean, go over it one last time with a fresh, damp cloth to make sure no cleaner or residue is left behind.
Clean the Glass and Other Components
Unless you’re in the habit of wiping your oven door every time something splatters, that glass panel is probably wearing a film of grease by now. Splashes, drips, and the odd bubble-over can leave it so cloudy you’re basically guessing whether the lasagne is done.
Fortunately, many newer ovens come with glass panels that can be taken out for easier cleaning.
So, if your model allows, carefully remove them. Trust us, cleaning them flat on a benchtop is far easier than dealing with all those awkward angles while they’re still upright.
For the glass, a simple mix of equal parts vinegar and water works wonders. Give it a light mist, let it sit for a minute to soften any greasy film, then buff it with a microfibre cloth until it’s shiny.
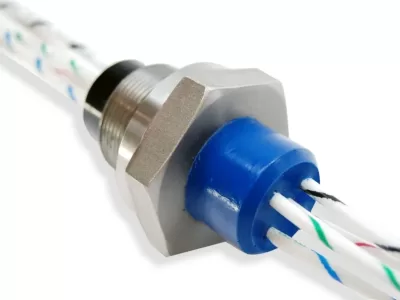
Don’t forget about the temperature probes and heating coils as well. When you can, remove and soak them in warm, soapy water, or try cotton swabs and an old toothbrush with some rubbing alcohol for crevices.
Just make sure to dry everything completely afterwards to keep mould away.
Reassemble and Add the Final Touches
By this point, everything should be dry and ready to go. So, slot each part back in, and take a second to admire how clean your oven looks.
If you really want to be thorough, run a quick low-temperature cycle or the self-cleaning mode to get rid of any lingering moisture or leftover paste.
You can also quickly wipe down those fingerprint magnets, like the control panel and handles, to catch any missed smudges.
Keep It Shiny
Deep cleaning your oven is a pain, so let’s not make it a daily horror show. To avoid this, wipe up spills and splatters as soon as they happen and catch crumbs early before they smoke up your next bake.
Want to make it easier for yourself? You can pop a liner in and let it catch spills. This way, you’ll spend less time scrubbing and more time actually cooking.
However, if you’re short on time, stove cleaning services can help remove even the most stubborn residues that may not come off with DIY methods.
Conclusion
Who knew your oven could go from grimy to shiny in under an hour? Now, it’s time to fire it up and enjoy cooking without worrying about hidden dirt ruining your dinner.
Just don’t be surprised if you catch yourself sneaking a peek at your unit just to admire how good it looks.


Comments