Water damage can be one of the most frustrating issues for any homeowner. A small leak can lead to discolouration, mould growth, and long-term structural impacts, especially if the affected areas aren’t treated properly.
But with the right preparation, including a quality exterior wall primer, you can successfully cover up those stains and restore a flawless finish to your home.
Here’s a step-by-step guide to ensure that your repainting project leaves your walls looking fresh, uniform, and free of any signs of water damage.
Step 1: Identify and Repair the Leak
Before any repainting, it’s essential to stop the source of water damage. Depending on the origin, this could involve calling a plumber for leaking pipes, a roofer for roof issues, or an exterior envelope specialist if the leak is weather-related. Ensure the source is completely fixed before moving on; otherwise, you’ll face recurring damage every time it rains or leaks.
Step 2: Assess the Extent of Water Damage
When water seeps into drywall, insulation, or other structural materials, it can cause stains and mould growth deep within the wall and ceiling cavities. Carefully inspect the area for signs of mould or warping.
Materials like batt insulation must often be removed since they can easily retain water and develop mould. At the same time, drywall sections that dry within two days might be salvageable if they’re mould-free.
Step 3: Choose the Right Exterior Wall Primer
After addressing the leak and replacing any compromised materials, it’s time to prepare for repainting by selecting an exterior wall primer. A high-quality exterior wall primer is crucial here, as it blocks stains from showing through the final coat and provides a mildew-resistant foundation. Look for an oil-based primer that specifically states its ability to prevent stains, like tannin, from water-soaked wooden studs.
If the stains are minor and you have oil-based paint in the correct colour, you might be able to use it as a primer alternative. However, remember that oil-based paint requires multiple coats to achieve full stain coverage and only works effectively on light stains.
Step 4: Apply the Primer
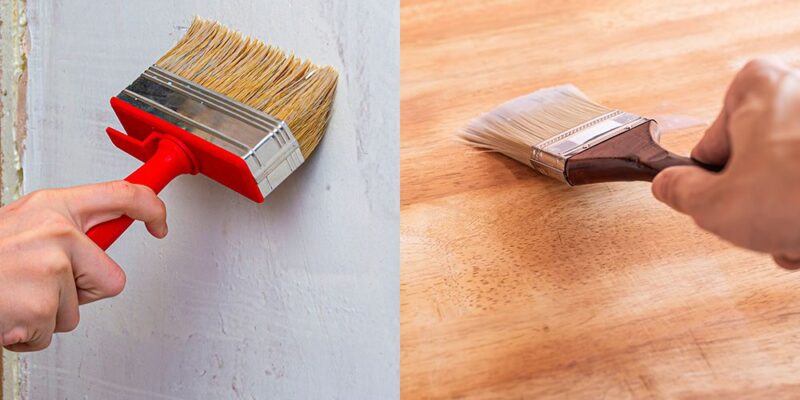
Once you’ve selected the right exterior wall primer, thoroughly clean and dry the area. Then, apply the primer evenly, covering the entire stained section. You can extend the primer application slightly beyond the stain edges to create a seamless transition. This extra coverage will help ensure that the stain doesn’t “bleed” through the new paint.
If you’re dealing with a particularly stubborn stain, apply a second coat of primer. Give the primer enough time to dry before applying any paint on top. Quality primers designed for exterior walls are formulated to adhere strongly and create a stain-proof barrier, giving you a fresh, clean foundation.
Step 5: Repaint the Surface for a Uniform Finish
After the primer fully dries, it’s time to apply your chosen paint. Repaint the entire wall or ceiling area where the water damage occurred instead of the stained patch for the best results.
Even with a perfect colour match, partial repainting can lead to visible patches and unevenness. A complete repaint ensures a flawless, cohesive finish and gives your space a refreshed look that hides any trace of past damage.
Conclusion: The Power of a Quality Exterior Wall Primer
A high-quality exterior wall primer is essential for repainting areas affected by water damage. This step prevents stains from bleeding and helps ensure your newly painted walls remain mould-free and vibrant. With the right products and techniques, your home’s walls can look as good as new, making it easy to forget the experience of frustrating water damage.


Comments