
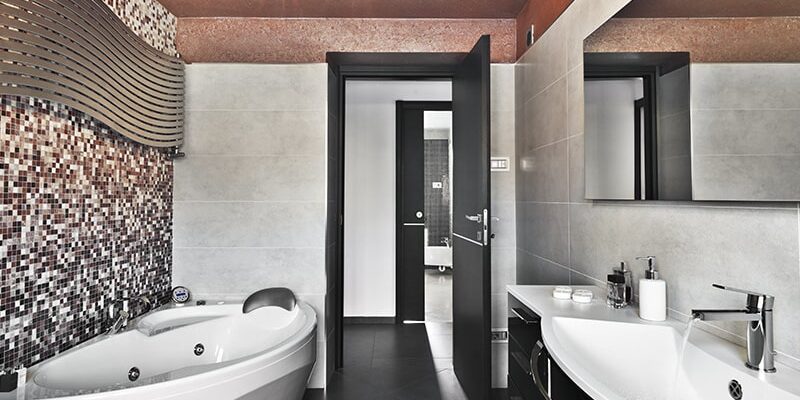
Starting a bathroom floor tiling project can seem like a daunting task, but with the right planning and approach, it becomes a manageable process. Understanding the key steps involved ensures a smooth and professional finish, whether you’re doing it yourself or hiring a skilled professional.
Prepare the Surface for Tiling
The first step in any bathroom tiling project is to make sure the floor surface is properly prepared. This means removing any existing flooring and ensuring that the subfloor is solid, level, and clean. A common problem in bathroom renovations is uneven surfaces, so it is critical to use a self-leveling compound if necessary. Any bumps or dips in the floor will directly affect the placement of your tiles, so thorough preparation at this stage is essential.
Plan the Layout of the Tiles
Planning the layout of the tiles is one of the most important aspects of the process. Begin by measuring the room accurately, noting the position of fixtures like bathtubs, sinks, and toilets. Dry-lay the tiles without adhesive to determine the best starting point, which is often from the center of the room. By starting in the center, you ensure that cut tiles at the edges are even, creating a balanced look. Mark reference lines to guide the placement of your tiles, using a chalk line or laser level for precision. This stage will help avoid mistakes and wasted materials.
Select the Right Tiles
Choosing the correct type of tile for your bathroom is crucial. Bathroom floors are exposed to moisture, so select tiles that are water-resistant and durable. Porcelain and ceramic tiles are popular choices due to their strength and resistance to moisture. Additionally, consider the texture of the tile, as smooth tiles may become slippery when wet. Non-slip or textured tiles are a practical option for added safety in bathrooms.
Mix and Apply the Tile Adhesive
With your tiles chosen and your layout planned, it’s time to mix the tile adhesive. Follow the manufacturer’s instructions carefully, ensuring the adhesive is mixed to the right consistency. Once mixed, spread the adhesive onto the floor using a notched trowel. Start in the center of the room, following the guidelines you marked during the planning stage. Be sure to work in small sections, as tile adhesive can dry quickly, making it harder to adjust tiles.
Install the Tiles
When placing the tiles, press each one firmly into the adhesive, using tile spacers to ensure consistent gaps between them. Regularly check that the tiles are level by using a spirit level. It is important to keep your tiles aligned with the reference lines you created during the layout phase. Adjust each tile as needed before the adhesive sets, ensuring they are straight and level. Work your way out towards the walls, making sure to keep the adhesive under control and clean up any excess before it dries.
Cut Tiles for Edges and Corners
As you reach the edges of the bathroom floor, you’ll need to cut tiles to fit. A tile cutter or wet saw will help you make precise cuts. Measure the remaining space carefully before cutting, and remember to account for grout lines. When fitting tiles around curved fixtures such as toilets or sinks, use a tile nipper or a contour gauge for more intricate cuts. Once the cut tiles are in place, check that all the tiles are securely adhered and correctly positioned.
Allow the Adhesive to Set
Once all the tiles are installed, it is essential to give the adhesive time to set properly. Follow the adhesive manufacturer’s instructions regarding drying times, which can range from 24 to 48 hours. Avoid walking on the newly tiled floor during this time, as it can disturb the alignment of the tiles or cause them to loosen.
Apply Grout to the Joints
After the adhesive has dried, it’s time to grout the tiles. Grout fills the gaps between the tiles, creating a seamless and durable finish. Mix the grout according to the instructions, and use a grout float to press it into the joints between the tiles. Be sure to work the grout into every gap, removing any excess grout with a damp sponge as you go. Once the grout is applied, allow it to dry for the recommended time before wiping the surface of the tiles clean with a dry cloth to remove any haze.
Seal the Grout
Sealing the grout is a crucial step, especially in a bathroom where moisture is a constant factor. Grout sealant helps protect the joints from water damage and staining. Apply the sealant carefully, following the manufacturer’s instructions, and allow it to dry completely. Properly sealed grout ensures the longevity of your bathroom floor and keeps it looking clean and fresh for years to come.
Finishing Touches
After the grout has dried and sealed, you can finish your bathroom tiling project by reinstalling any fixtures and fittings that were removed. Apply a bead of silicone caulk around the edges of the room, where the tiles meet the walls or other surfaces. This helps prevent water from seeping into the gaps and provides a neat, finished appearance.
Professional Tiling Services
If tiling your bathroom floor seems too complex or time-consuming, hiring a professional tiler can be a great option. Professional tilers have the skills and experience necessary to complete the job efficiently and to a high standard. For those in Melbourne, you can find expert tiling services by contacting a Tiler Melbourne. They can handle everything from surface preparation to the final touches, ensuring a flawless finish for your bathroom floor.
Maintenance of Your Bathroom Floor
Once your bathroom floor has been tiled, it is important to maintain it properly to ensure its longevity. Regular cleaning with appropriate cleaning products will keep the tiles looking their best, and periodic checks for any cracks or grout wear can help address small issues before they become larger problems. Additionally, re-sealing the grout every few years can extend the life of your tiled floor and keep it looking fresh and clean.
Cost Considerations
The cost of tiling a bathroom floor can vary based on several factors, including the size of the bathroom, the type of tiles chosen, and whether you hire a professional tiler or opt for a DIY approach. While DIY tiling can save money on labor, it’s important to weigh the potential for mistakes and the time investment required. Hiring a professional Bathroom Tiling service might be more cost-effective in the long run if you want a flawless finish without the stress of doing it yourself.
Conclusion
Starting a bathroom floor tiling project requires careful planning, the right tools, and a methodical approach. By following these steps, you can ensure a high-quality result that lasts for years to come. Whether you choose to take on the project yourself or hire a professional, the key to success is in the preparation and attention to detail. With the right execution, your new bathroom floor will be both functional and aesthetically pleasing.


Comments